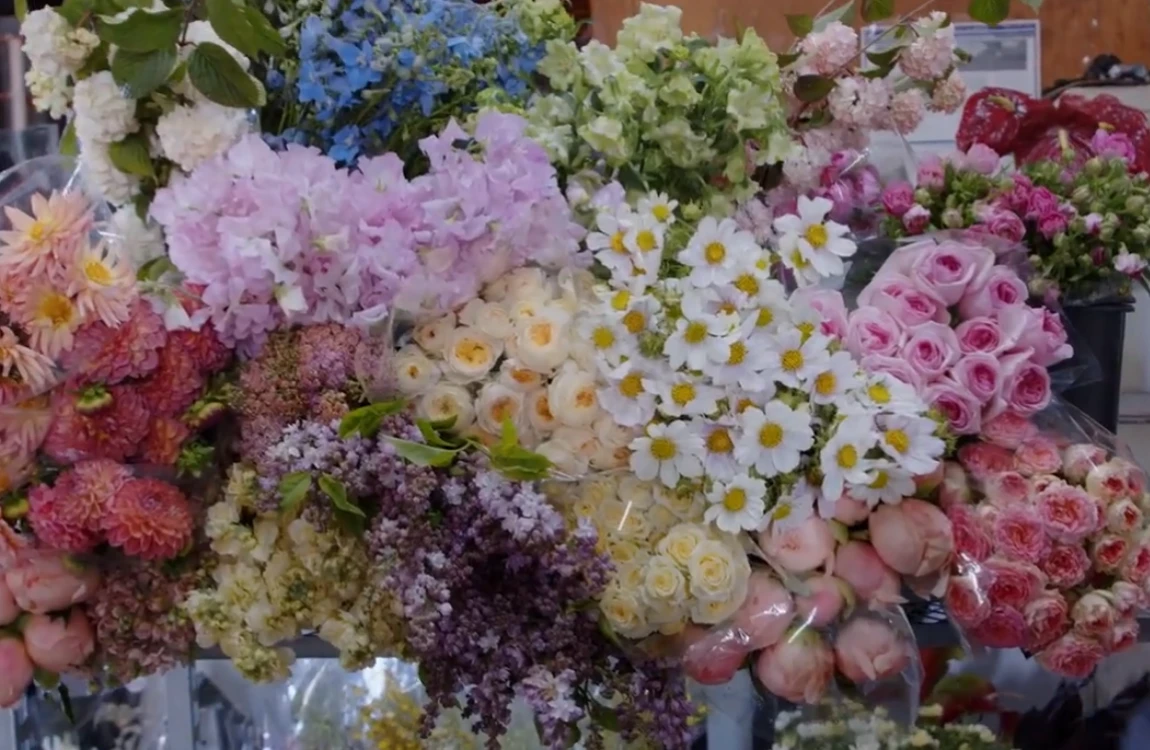
Every June, the Florabundance cooler seems to transform overnight. One week we're enjoying the final…

Floral Design Institute Fragrant Garden Rose Wedding Bouquet
We are so pleased that The Floral Design Institute has reached back to a favorite video first released in March 2018. The video shows Leanne Kessler making a fragrant garden rose wedding bouquet featuring the “Edith” rose from David Austin Roses combined with Freesia and Pieres.
Video Transcript
Welcome to the FlowerSchool.com video library. I’m Leanne Kessler, Director of the Floral Design Institute, and today I’m here to share with you a fabulous garden rose bridal bouquet.
I wish you could join me here in the studio — the fragrance from everything is amazing.
The inspiration for this bouquet began when I was scrolling through GardenRosesDirect.com and looking at their choices for roses. (Note: Garden Roses Direct is a Florabundance company.) The one that jumped out to me was the Edith garden rose. I thought, “Oh! That looks like the blush, but updated.” It has so much brand color — sort of yellow, then peach. It’s a David Austin garden rose.
One way to know for sure that you’re getting the best of the best: David Austin roses are always tagged with their name and logo. So you know for sure you’re getting that. Garden Roses Direct and Florabundance have so many different David Austin roses, but Edith is definitely one of my absolute favorites with that coloration.
When I bring them in, the first thing I do is give them a cut and remove their thorns. I use a rose stripper to strip the thorns down, give the stem a fresh cut, and then let them drink. They need to hydrate for four to five days to reach this lushness. They arrive very fresh and tight — so bring them in early, let them open up, and then they’re fabulous to work with.
Once I had the beautiful Edith roses in my possession — oh, so fragrant — I started looking for other spring flowers that would be perfect.
I found this freesia, which is also a yellow and peachy tone — a perfect accent. Incredibly fragrant. Then Pieris (also known as Andromeda or lily of the valley bush), in a burgundy-maroon color. That deep tone enhances the blush, bringing it into a more contemporary palette.
To add a little more of that wine color and some bubbly texture, I chose some Mega Bead Wire in a beautiful wine shade. I clustered it together into bunches, wired it with an 18-gauge wire, and then taped them so they become little insertable clusters. These bring the color of the Pieris up into the flower top.
As I begin building the bouquet, I take the roses and pull off the rest of the leaves. While they’re hydrating for 4–5 days, I leave the leaves on — they help the flowers drink. But once it’s time to design, those leaves just get in the way.
I start with a couple of roses, terraced to create depth. Then I add a bit of ruscus for support and texture. Holding everything loosely in my hand — thumb and finger — I make sure everything above my hand has leaves or blooms, and everything below is stripped clean.
Next, I add the Pieris, weaving it in around the roses. Then I bring in some freesia. You’ll see how the colors start blending beautifully.
You could go fully round with this bouquet, but the on-trend style now is a bit looser. It can still be rounded — just not stiff. So I extend out a bit on one side, then the other. I add more Andromeda to enhance that asymmetrical feel. A few more freesia, some toward the front to avoid flatness. Another rose, fed through to the opposite side. Always checking for side-to-side balance and depth.
To continue shaping the bouquet, I add more foliage for support and movement. A few more freesia for extension. One more rose off to the side — finding the perfect spot, tucking it in. Another freesia to the center for emphasis.
Then I check the back to make sure it’s as pretty as the front. Add one last rose there if needed, along with the final bits of foliage. Once satisfied, I tie the bouquet off with raffia. It’s sturdy, won’t weaken or stretch if it gets wet. I wrap it around 2–3 times and tie a firm knot.
With the bouquet tied off, I add the bead clusters for sparkle. I also continue the cascading line using a bit of lily grass, and finally, more ruscus to conceal the lower mechanics. Then I tie it off again.
Laying the bouquet down, I squeeze the stems together and cut them to about two hand lengths.
For a final on-trend accent, I add a copper metallic collar. Copper and metallics are very popular right now. I use the Oasis brand armature collar, which comes square, but you can manipulate it into a round shape. Punch a hole in the center, slide it up the stem base, and fold it back around the bouquet.
To finish concealing the raffia, I take the remaining bead wire and wrap it around the handle, creating one final decorative touch and hiding all mechanics. Then I twist the wire and tuck the end securely.
The back is now just as beautiful as the front.
A special thanks to GardenRosesDirect.com and Florabundance.com for providing these fabulous roses. They’re so fragrant, long-lasting — just fabulous. I can’t use that word enough.
For more creative inspiration, visit FlowerSchool.com. If you have questions, you can reach me through the website or by phone at 503-223-8089.
And I’d love to see what you create. Gather your garden roses, make a bouquet, take a photo, post it on social media, and tag @FloralDesignInstitute, @Florabundance and @GardenRosesDirect — that way we can all see what you create as you do something you love.
Related Posts